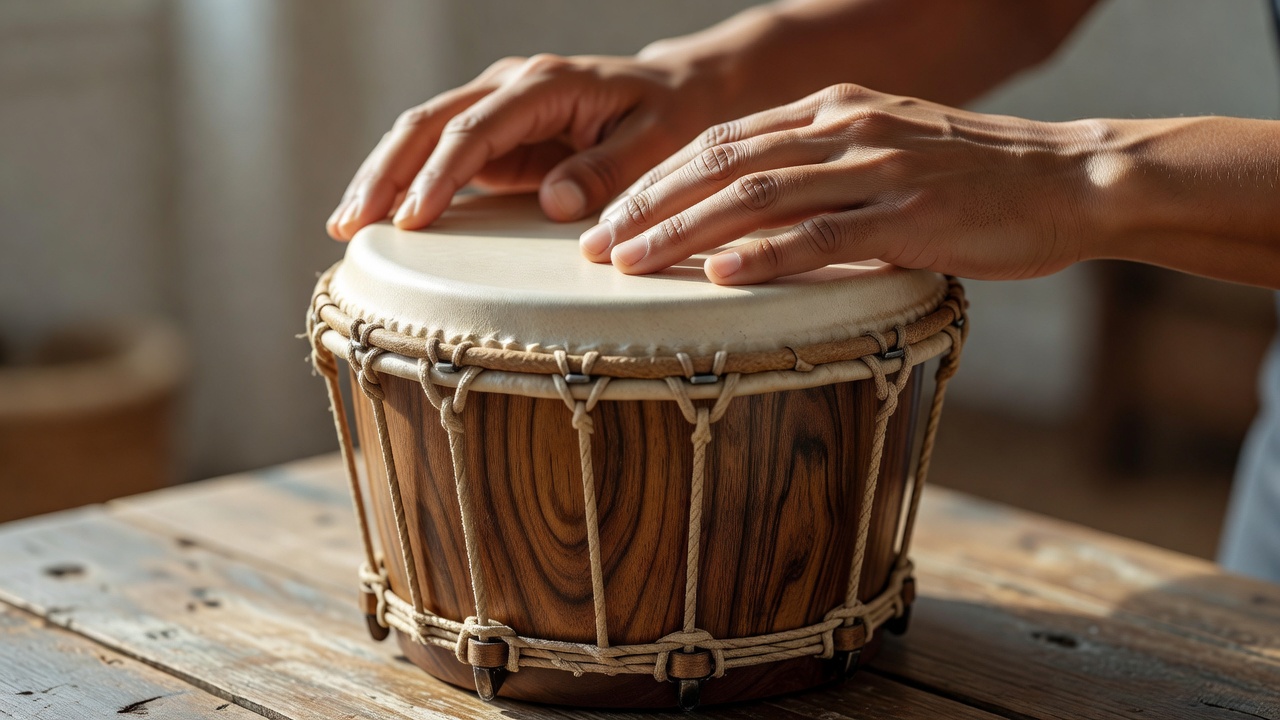
Give the instrument a stable home
Sit on a firm chair with both feet supported. Bring the bongos close enough that your elbows can hang naturally rather than reaching forward. Many seated players hold the connecting area between the knees, with the smaller drum on the left for a right-handed setup. That is a common arrangement, not a requirement. Left-handed players may prefer to reverse it, and a properly fitted bongo stand can reduce the need to grip with the legs.
Do not brace the drum openings against a cushion or the ground. They need room to resonate. Check that the instrument cannot tip when you lift both hands. If holding it takes continuous squeezing, adjust the seat or support before playing. Remove rings or bracelets that might strike a rim or scratch a head.
Let your shoulders drop, keep your wrists near a neutral position and breathe normally. The drum should meet a small hand movement; your whole upper body should not have to lean into each note.
Hear the two voices separately
The smaller drum, commonly called the macho, usually has the higher voice. The larger hembra offers a lower contrasting tone. Exact pitches depend on the drum, head and tuning. There is no single tuning interval that every beginner must reach before practicing.
Play four quiet notes on the smaller head, then four on the larger one. Keep the movement and loudness similar. Listen to how quickly each sound fades. This gives you a useful reference before you try changing hand shapes or combining sounds.
Bongos are closely associated with Cuban music, especially son and changüí traditions. The martillo, meaning “hammer,” is an important bongo accompaniment pattern, but it involves specific coordinated touches. Our first stroke exercises are building blocks, not a claim to teach that entire tradition in a few lines.
Explore three simple actions
Use the tabs to compare a ringing sound, a short sound and an intentional release. Start softly enough that you can notice the contact point.
Touch and rebound
Bring relaxed fingers toward the head just inside the rim. Let them make contact together and rebound without pressing into the skin. Keep the knuckles clear of the hard edge. Move the contact point slightly if the sound is dull, rather than immediately using more force.
Shorten the sound gently
Use a light touch and allow a little contact to remain on the head. You are damping vibration, not pushing the head downward. Compare this short sound with the open tone. If you cannot hear a difference yet, slow down and make one stroke at a time.
Let a gap stay empty
Lift away and let the next count pass without a stroke. Relax the fingers rather than freezing them above the head. Keep counting through the silence so your next note has a clear place to land.
Avoid trying to produce a sharp slap immediately. Loud slap sounds can tempt a beginner to strike harder or tense the hand. A teacher who can see your movement is a better guide when you are ready to develop those sounds.
Use a two-minute sound check
- Spend thirty seconds settling your seat and counting slowly.
- Play quiet open tones on one drum for thirty seconds.
- Alternate one open tone with one gentle muted touch for thirty seconds.
- Finish with thirty seconds of playing a note, then leaving a beat empty.
These timings are suggestions, not a test. Pause sooner if you become tense. One repeat with relaxed movement is more useful than many repeats with a clenched wrist. You can record a short audio clip for yourself to compare the sounds, but do not judge progress by loudness.
Notice discomfort early
A little unfamiliar coordination is normal; pain is not a target. Stop for sharp pain, numbness, tingling or discomfort that continues after a break. Do not try to “toughen” your hands by playing through symptoms. A qualified teacher can assess technique, while a healthcare professional is the right person for persistent physical concerns.
Check the practical causes first: a chair that is too low, a rim meeting your knuckles, excessive reach or a drum that slips between your knees. Small setup changes often make gentle playing much easier. When the movement feels comfortable, take these sounds into the starter groove and keep the same light touch.